Learn how to deploy, set up, and move mobile surveillance systems, including solar camera systems and portable surveillance cameras, with step-by-step guidance.
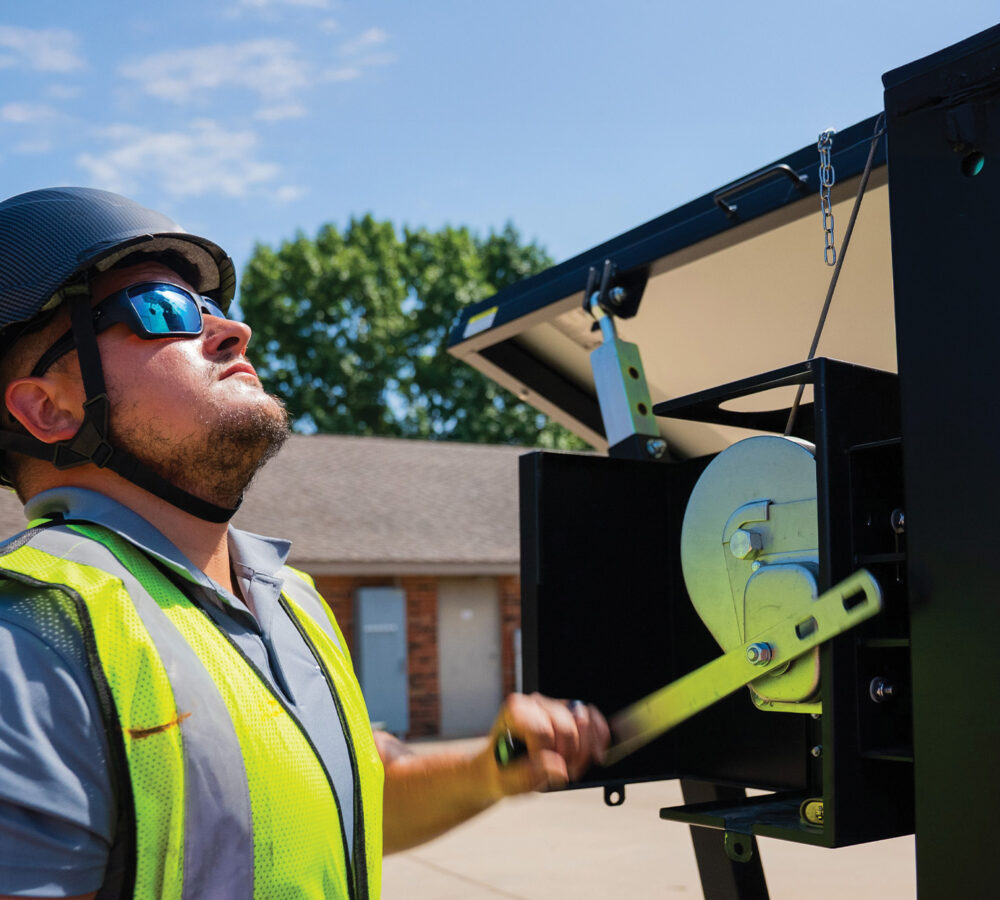


Mobile surveillance systems are built to adapt as your site changes. Whether you’re securing a new jobsite or expanding coverage as work moves forward, flexibility is one of your biggest advantages.
At 24/7 Onsite Cameras, we usually handle delivery, deployment, and relocation for our clients. We’re on-site when you can’t be. That said, some teams prefer to manage their own setup or relocation. If that’s your approach, knowing the basics helps you move quickly and with confidence.
Here’s how to deploy solar camera systems, set up mobile video surveillance, and relocate a portable surveillance camera when site conditions change.
Mobile surveillance systems are self-contained security solutions designed for sites without permanent infrastructure. Instead of relying on fixed power or hardwired connections, they combine cameras, solar power, and connectivity into a portable platform that can be deployed and repositioned as needed.
Our MS-Series solar camera systems are commonly used on construction sites, utility projects, industrial facilities, and remote locations. They deliver reliable mobile video surveillance while giving teams the freedom to adjust coverage as the site evolves.
Many clients choose to have 24/7 Onsite Cameras handle delivery and deployment. Our technicians position the system, verify power and connectivity, and confirm the mobile surveillance camera is fully operational before leaving the site.
For teams that prefer a hands-on approach, our portable surveillance camera platforms are designed for safe, straightforward deployment using the steps below.
The following outlines the basic setup process for 24/7 Onsite Cameras solar camera systems.
Park the trailer so the solar panels face south to southwest for optimal sun exposure. Choose stable, level ground with a clear line of sight to the areas you want to monitor.
Place wheel chocks on all four wheels. Detach the trailer from the vehicle and confirm the brake system is engaged before moving forward.
Extend all outriggers to stabilize the unit. Use the manual leveling tools provided with the system, not power tools. Lower the outriggers until the built-in level indicator shows the system is level.
Proper leveling helps the mast raise straight and keeps the mobile surveillance camera stable during operation.
Verify that required switches are turned on and the main power is engaged. Auxiliary switches should remain off unless instructed otherwise.
Unlatch the solar panels and extend them fully until they lock into place. Make sure panels are unobstructed and positioned for maximum sunlight.
Using the hydraulic control, raise the mast slowly. Watch for nearby obstructions. Once fully raised, insert the locking pin to relieve pressure from the hydraulic system.
At this point, the system is deployed and ready. The 24/7 team can handle final camera configuration and monitoring setup as needed.
Once the system is powered and deployed, your camera setup is the next step.
Adjust camera angles to cover entry points, equipment, and high-traffic areas. Avoid aiming cameras directly into the sun, as this can reduce image clarity. Minor adjustments to pan, tilt, or zoom can significantly improve coverage.
Confirm that live video feeds are visible in the monitoring platform. If alerts or analytics are enabled, test them to ensure notifications are working correctly. This step is critical when deploying mobile video surveillance in new locations.
When it’s time to relocate the system, following the correct shutdown and removal steps helps prevent damage and ensures a smooth redeployment.
Locate the system key and unlock the control panel.
Raise the mast slightly to relieve pressure on the locking pin. Remove the pin, then lower the mast fully using the hydraulic control. Store the mast control securely.
Turn off system controls, then switch off the main power.
Using the provided manual tools, retract all outriggers. Make sure each pin locks properly as the outriggers are secured.
Disengage the solar panel latches and slide the panels back into their transport position. Secure all locking pins on both sides.
Lower the system onto the trailer, secure all pins and latches, disengage the brake system, and reattach the trailer. Remove wheel chocks and confirm nothing is loose before transport.
The system is now ready to move to its next location.
Solar camera systems are designed to operate independently, making them ideal for remote or temporary sites. Keeping panels clean and unobstructed helps maintain consistent power levels.
In locations with grid power, systems that support 120V AC offer even more flexibility. This allows your team to deploy quickly using a standard extension cord while still benefiting from a portable surveillance camera setup.
Our team can assist remotely by verifying system status, checking connectivity, and helping fine-tune mobile surveillance camera views. For more complex moves or large sites, onsite support is also available.
Mobile surveillance systems work best when they’re treated as flexible tools, not fixed installations. Whether 24/7 Onsite Cameras handles deployment for you, or your team manages relocation internally, our solar camera systems are built to move with your site as it evolves.
Understanding the basics of deployment, setup, and relocation helps you get the most from your mobile video surveillance while keeping your site protected at every stage.
If you have questions or want hands-on support, our team is ready to help. Click here to get in touch.